


December is the season of the Cinnamon Roll Snowflake! It’s been my most popular recipe of all time and it’s such a fun one to make. Every year, I like to come up with a new and fresh version of the original! It’s fun to reimagine the snowflake in different flavor combinations. This year I created an eggnog spiced version and I love how it came out! Its very similar to the original, with the cozy flavors of eggnog, nutmeg, and cloves infused into the dough and the cream cheese frosting. I actually created the base of this frosting flavor for one of the recipes that will be in my upcoming cookbook, and I knew that it would work so well with the eggnog added in.

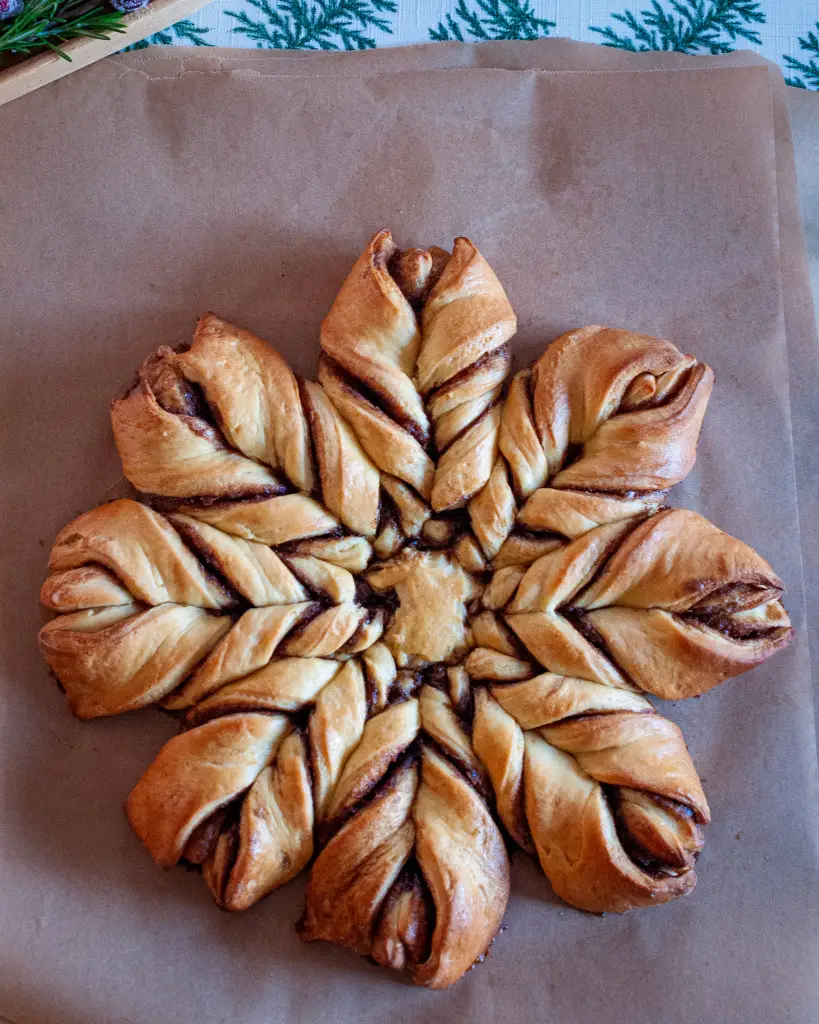

If you haven’t tried last year’s versions of the snowflake, you definitely should! My Raspberry Frangipane Snowflake combines raspberry and almond flavors and is absolutely delicious. I also created a savory Spinach and Feta Snowflake last year that makes the best party appetizer. If you haven’t baked one of these beautiful snowflakes yet, this is your year! I hope that you try one out!
This page contains affiliate links. If you choose to purchase after clicking a link, I may receive a commission at no extra cost to you. As an Amazon Associate, I earn from qualifying purchases.

Eggnog Spiced Cinnamon Roll Snowflake
It’s my viral cinnamon roll snowflake, infused with the cozy flavors of eggnog for a new and fresh take on this holiday favorite!
16
servings1
hour20
minutes300
kcal2
hours30
minutes3
hours20
minutesKeep the screen of your device on
Ingredients
- Dough
3/4 cup eggnog, warmed to 110 degrees F
2 1/2 teaspoons instant yeast
1/4 cup granulated sugar (50 g)
2 large eggs, room temperature
1/4 cup salted butter, melted (57 g)
3 1/2 cups bread flour (455 g) (see notes)
1 teaspoon fine pink Himalayan sea salt
- Filling
1/4 cup unsalted butter, softened (57 g)
1/2 cup packed brown sugar (110 g)
1 tablespoon ground cinnamon
1/2 teaspoon ground nutmeg
1/8 teaspoon ground cloves
- Other
1 tablespoon eggnog
1/2 teaspoon confectioners’ sugar
- Spiced Cream Cheese Frosting
2 ounces cream cheese (full fat brick), softened
1 1/2 tablespoons unsalted butter, softened
1 tablespoon eggnog
3/4 cup confectioners’ sugar (90 g)
1/4 teaspoon vanilla extract
1/8 teaspoon ground cinnamon
1/8 teaspoon ground ginger
pinch ground cloves
pinch salt
Directions
- Make the dough
- Start by making the sweet dough. In the bowl of a stand mixer, add warm eggnog and yeast. Whisk to combine. Add in sugar, eggs and melted butter. Whisk until well-combined. Next, stir in flour and salt until a dough begins to form. Mix with the dough hook at low speed for 5 minutes. The dough should not be sticking to the sides of the bowl. If the dough starts to stick to the bottom of the bowl, add more bread flour, one tablespoon at a time, until it no longer is sticking to the bottom. Your dough should not stick to your finger when you touch it. After 5 mins, I like to pinch off a piece of dough and hold it up to a window and stretch it until I can see the light come through. If you can do this without the dough tearing apart, it’s done kneading. Push dough to the side, add in a little olive oil, roll the dough in the oil, cover and let it rise for 2 to 3 hours, until it’s doubled in size.
- Assemble and bake the snowflake
- In a small bowl, stir together the brown sugar, cinnamon, nutmeg, and cloves.
- Once the dough has risen, split it into two equal pieces on a lightly floured pastry board. Mine were 348 g each. You will work with one half of the dough at a time, so be sure to keep the dough that you’re not working with covered so that it doesn’t dry out.
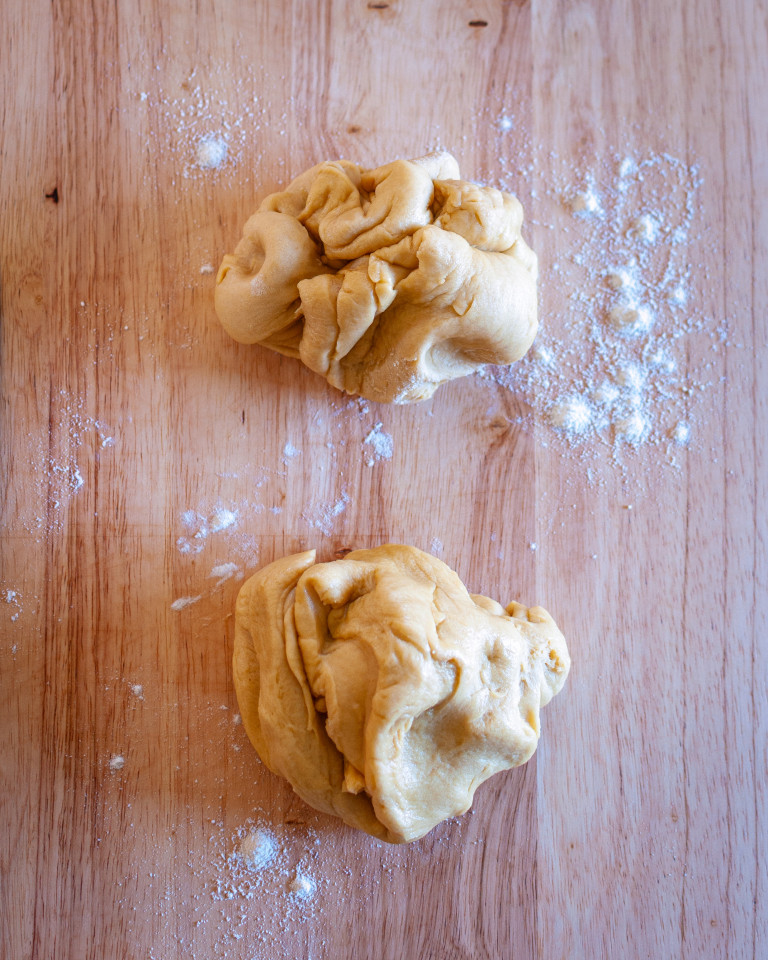
- One at a time, on a lightly floured surface, roll out each section of dough into a circle of about 12 inches in diameter. Keep one dough circle on your work surface and keep the other to the side, lightly covered in plastic wrap so that it doesn’t dry out.

- Spread the softened butter evenly over the bottom layer of dough.

- Spread the brown sugar mixture over the butter.
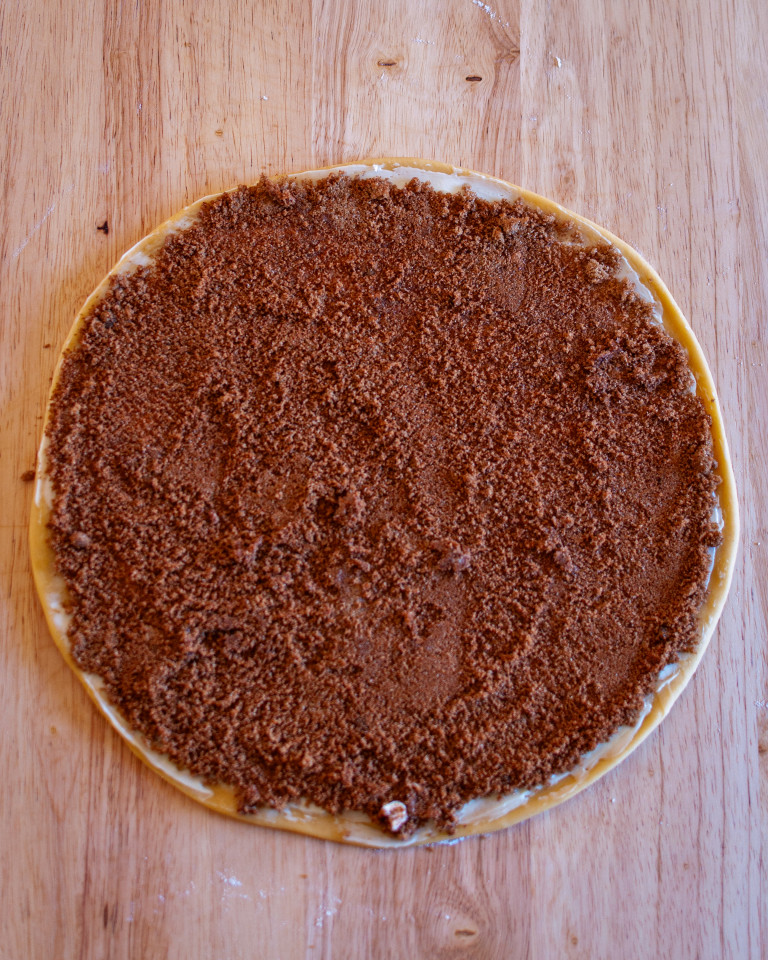
- Place the top layer of dough over the brown sugar mixture and match up the edges as well as possible.

- Place a small cutter in the center of your circle. This will be a guide to cut around, so that you don’t cut all the way through to the center.

- With a sharp knife, start cutting through your dough carefully. Start each cut at the edge of whatever you’ve placed as your cutting guide, so you’re cutting from the middle out to the edge. I started at 6 o’clock, then cut at 12 o’clock, 9 o’clock and 3 o’clock. Once I had these 4 cuts, I cut each section in half to make 8 sections. Then I cut each of those in half so that I ended with 16 even sections.

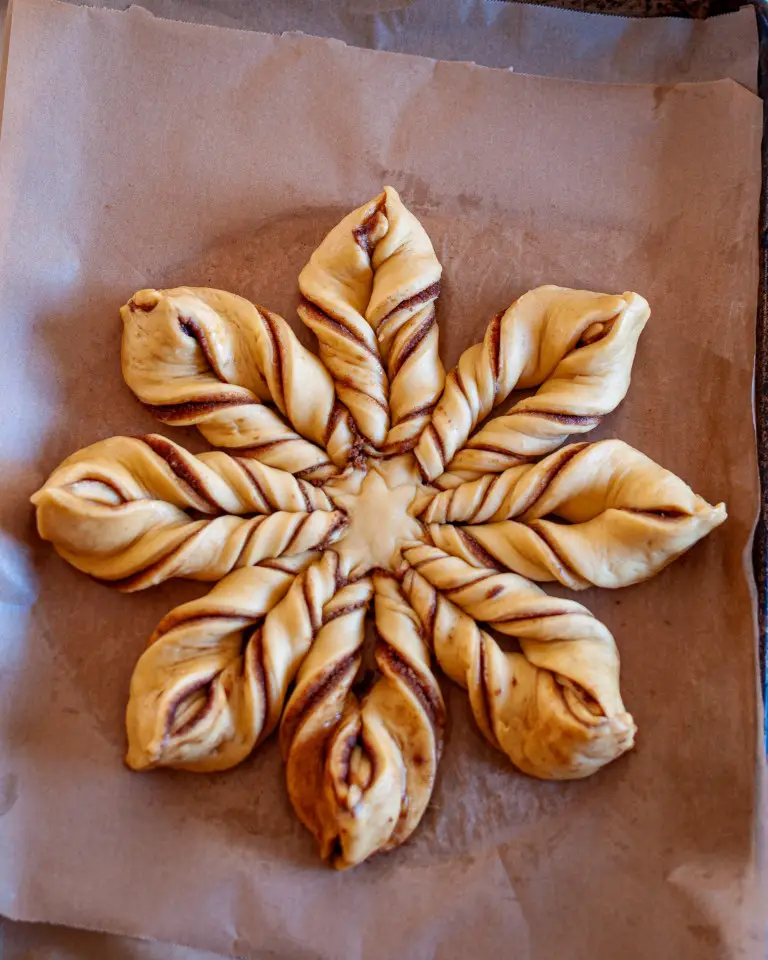
- Next is the twisting process. You want to work the sections two at a time. I held one section in my left hand and twisted it 1 1/2 -2 turns counter clockwise and with my right hand, I twisted 1 1/2-2 times clockwise. It’s important to twist each pair away from each other and to not twist so far that your dough starts to tear. I found that my sections could twist anywhere from 1 1/2 to 2 full turns. Once you’ve twisted, you want to then pull the ends together and pinch them so that the dough sticks together. You’ll repeat this process all the way around the circle. As I worked my way around, I noticed that some of the ends would want to pull away from each other, so I would just go back and pinch the dough back together.

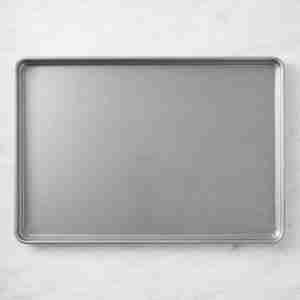
- This is when I usually move the pastry to a rimmed full size baking sheet. The full sheet gives the pastry plenty of room to rise and to expand while baking. I move it using the parchment paper, then cover the pastry and allow it to rise a second time. I like to let it rise for about 30 minutes for this rise.
- While the dough is rising, preheat the oven to 350 degrees F and place a rack in the middle.
- After the second rise, brush all over with eggnog, using a silicone pastry brush and then bake until golden brown, about 20 minutes.

- Make the frosting
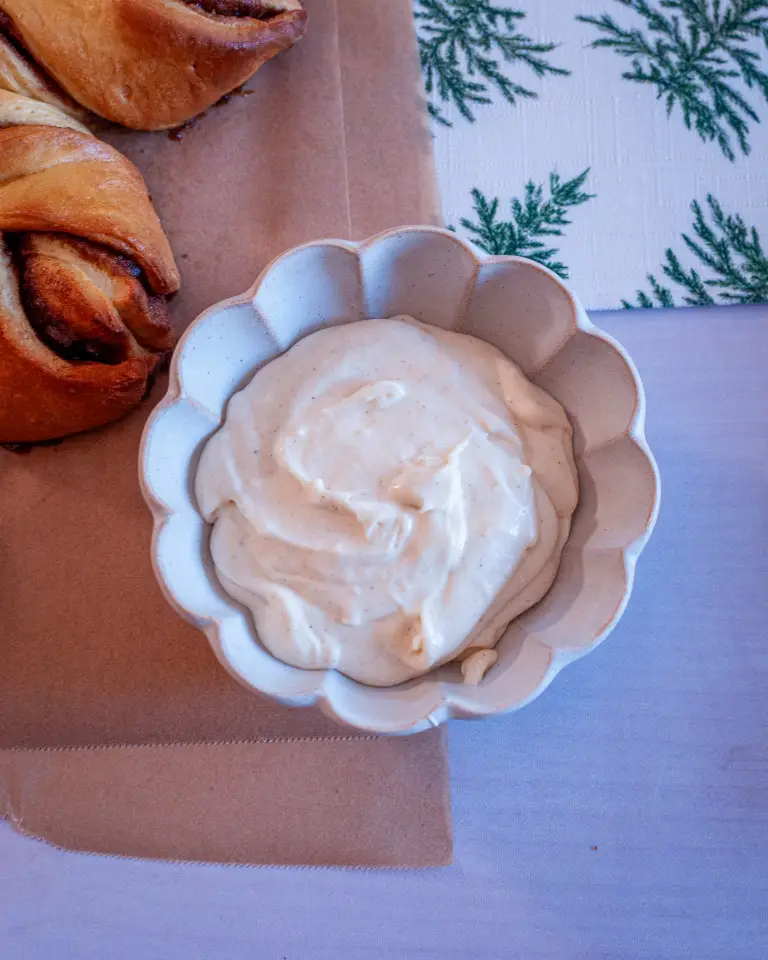
- While the snowflake bakes, make the frosting. Add the cream cheese and butter to the bowl of a stand mixer and beat at medium-high speed with the paddle attachment until smooth, about 2 minutes. Add the eggnog and beat at medium-high speed again until fully combined, about 1 minute. Add the powdered sugar, vanilla extract, cinnamon, ginger, cloves, and salt and mix at low speed until combined, about 30 seconds. Once combined, increase speed to medium high and mix until completely smooth, about 1 to 2 more minutes. Transfer to a small bowl.
- Finishing touches
- Once the snowflake is done baking, let it cool for about 10 mins before frosting. Frost the snowflake however you like. I like to lightly frost it so that the swirls show through. Lightly dust with powdered sugar. Serve and enjoy! Store leftovers in an airtight container in the refrigerator for up to 4 days.

Equipment
 Snowflake CutterShop at Williams Sonoma
 Geometry House TowelsSave with SarahR15
 Full size baking sheetShop on Amazon
 Wooden Pastry BoardShop at Williams Sonoma
 Unbleached Parchment PaperShop on Amazon
 Mesh SieveShop at Sur La Table
 Kitchenaid 7-quart Stand MixerShop on Amazon
 Measuring Cups and SpoonsShop at Williams Sonoma
 Hexclad Chef’s KnifeShop on Hexclad
 GIR WhiskShop on Amazon
 Pyrex Mixing BowlsSave with SARAHTREED
 Shinogi BowlSave with SARAHTREED15
Recipe Video
Notes
- This dough typically takes between 3 1/2 to 3 3/4 cups of bread flour. Start with 3 1/2 and if the dough is sticking to the bottom of the bowl as you mix it, add 1 tablespoon at a time up to the additional 1/4 cup.
Did you make this recipe?
Tag @sarahtreed on Instagram and hashtag it with #bestlittlemomentsrecipe
Discover more from Best Little Moments
Subscribe to get the latest posts sent to your email.